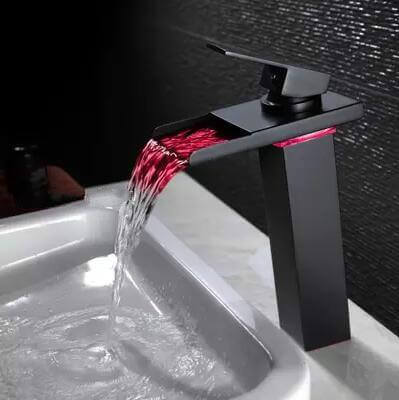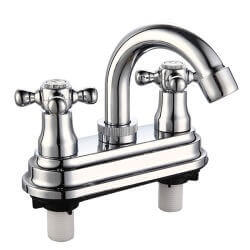
The key part of the kitchen water-saving faucet: material
The old faucet, the traditional tube is easy to rust, pollute water quality, early need to use, the tube will have water discharge. And stainless steel, copper faucet, the water does not rust. Ukwengeza, copper faucets have a sterilization effect, belonging to the health products.
The key part of the water-saving faucet two: valve core
The inner valve of the faucet is made of steel ball valve and ceramic valve. Steel ball valves use strong and durable steel balls with tenacious pressure resistance, but the disadvantage is that the rubber ring with poor sealing effect is easy to wear, and will soon be aging. The ceramic valve itself has good sealing performance, and the use of ceramic valve core, from the handle, is more comfortable, smooth, can achieve a high number of resistance to open.

Three key parts of the water-saving bathroom sink faucet: the foaming device
On weekdays, if you pay attention to observe, you will find that the high-grade faucet water flows as soft and comfortable as fog, not everywhere. The secret weapon of the faucet is the installation of a foaming device, which enables the flow of water and air to mix, so that the water produces a foaming effect, a significant increase in air, water flushing force, thereby effectively reducing water consumption.
The key components of the water-saving faucet four: hydraulic generator
The water-saving faucet is equipped with a computer board and hydraulic generator with infrared sensors, forming a complete system. Under the hand-held faucet, the sensor transmits the signal to the computer board inside the faucet, opens the faucet, and the water flows through the hydraulic generator to generate and charge power for itself. The faucet can automatically limit the flow of water to achieve the purpose of saving water and electricity.
Water-saving cheap faucet online Key component five: fully automatic
Hand under the faucet, the faucet will automatically open, leave the hand, the faucet will automatically close, which is the fully automatic water-saving faucet. Ngoku, this product is mostly used in public toilets, with the advantages of convenience and hygiene.

Faucet Manufacturing
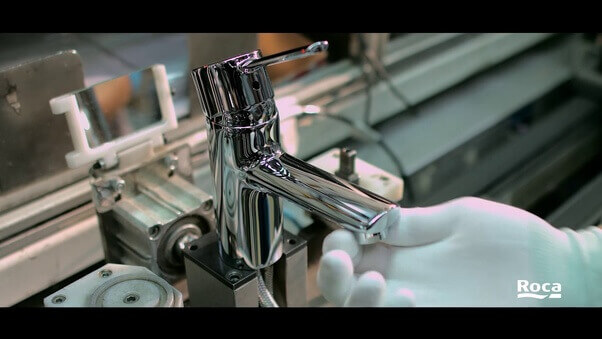
The faucet manufacturing process has become highly automated, with computers controlling most of the machines. As a result, productivity and efficiency have increased during the year. This basic process includes the formation of the main body of the faucet. The faucet industry has also been affected by environmental regulations, which have required major processes to be developed.

Forming
- – Most manufacturing industries use machine processes to shape the body into the desired size and dimensions. This involves first cutting the bar into small pieces and automatically feeding them into a computer numerically controlled machine center with multiple spindles and multi-axis designs. This machine performs timing and drilling operations.
- – Large faucet manufacturing May requires many machine operators. Umzekelo, for some kitchen faucet bodies, more than 33 machine operations are required using a rotary machining center. With the right machine, it may take as little as 15 seconds to manufacture a part. Some parts, such as kitchen faucets, are also individually machined before assembly.
- – Some faucets are manufactured using hot forging rather than machines because this method can produce a near-net shape in about 5 seconds with very little waste. Forging is used to shape metal by deforming it in a few ways. In the case of hot heating, the metal is forced into a mold that is almost identical in shape to the body of the faucet. The pressure is slowly increased over a few seconds to ensure that the die is completely filled with metal.
Fishing
- – 4. After the machine, the part is ready for the finishing process. That part in contact with water may first require a special surface treatment to remove any lead from the hinge. This involves a leaching process that eliminates the lead molecules from the brass surface. The traditional surface treatment is chrome, as this material is very resistant to corrosion.
- – 4 If brass plating is used, a clean polymer coating is applied to improve the durability of the white as well as other colors of the finished product. The same polymer with added color is sprayed on the faucet in an electrically charged environment. Both coatings will then be heat cured.
Assembly
- – The faucet and some other parts are sent for final assembly. This process is performed on a rotary assembly machine and is controlled. If separated, it is followed by the ceramic cartridge. This cartridge is screwed to the brass with a pneumatic gun and then the handle is attached by hand, sometimes with the brass tube installed before assembly. After assembly, the faucet is packed in the box along with the other parts that need to be finally installed.

How to open the faucet and repair the water
Step 1: Turn off your kitchen faucet and remove the handle from the bottom of the faucet by removing the top or back of the faucet. Some screws are hidden under metal buttons, plastic buttons, or plastic tabs that are inserted or screwed into the handle. You only need to open the button to see the top of the screw mounted on the handle. If necessary, you can use some oil to tighten WD-40 and other sizes.
Step 2: Remove the handle and check the parts of the bathroom sink faucet. Use large carp pliers or an adjustable wrench to remove the packing nut, being careful not to leave scratches on the metal. Open the cock when you turn the direction of rotation of the cock to the spool or off.
Step 3: Remove the washer that holds the screw in place. If necessary, use the lubricating screw to penetrate the open and loose area. Inspect the valve and screw and replace with a new one if there is any damage.

Step 4: Replace the old washing machine with a new one. The new washing machine is basically complete with the old washing machine and generally does not need to be lowered again. Attention must be paid to whether the old washing machine is equipped with a ramp or flat surface and replaced with a new one. Only hot water designed to flow through the washer will block the hot water spout from expanding violently and flowing slowly. Some washers can work in both hot and cold water, but you should make sure the replacement washer you buy turns out to be two peas in a pod.
Step 5: Secure the new washer to the spool and reinstall the parts of the cheap faucet. Turn the spool clockwise. Spool position and reinstall the sealing nut. Be careful not to leave scratches on the metal from the wrench.
Step 6: Reinstall the handle and back button or disc. Turn the water source back on and check for leaks.

 iVIGA Tap Factory Supplier
