Welcome to this comprehensive guide on in-wall faucets, where we will delve into the fascinating world of hidden plumbing fixtures. If you’re looking to upgrade your bathroom or kitchen, understanding the functionality of in-wall faucets is crucial. Ma keia 'atikala, we will explore the benefits, installation process, and maintenance tips for these innovative fixtures. Let’s unlock the secrets of in-wall faucet functionality together!
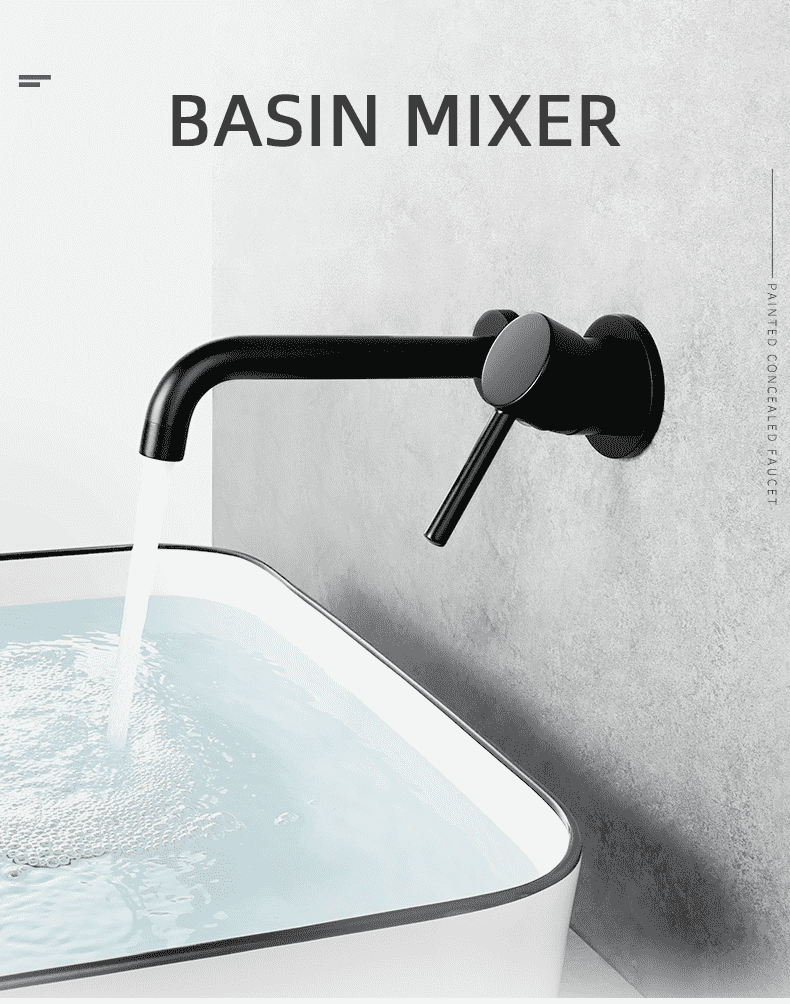
- In-wall faucets, also known as wall-mounted faucets, are elegant plumbing fixtures that are installed directly into the wall. Unlike traditional faucets, they don’t require a visible countertop or sink deck, creating a sleek and modern look. In-wall faucets offer a seamless and clutter-free design that complements any contemporary space.
2. Benefits of In-Wall Faucets: a. Space-saving: By eliminating the need for a countertop or sink deck, in-wall faucets maximize space utilization, making them ideal for smaller bathrooms or kitchens. b. Easy cleaning: Without any protruding parts, cleaning becomes a breeze. No more struggling to reach around faucets and sink edges! c. Stylish appearance: In-wall faucets exude a minimalist and high-end aesthetic, elevating the overall design of your space. d. Customizable height: The height of in-wall faucets can be adjusted during installation, ensuring the perfect fit for your specific needs.
How to Install an In-wall Faucet?
1. Installation of a pre-buried box involves concealing it into the wall before tiling. This installation method requires plumbing work to be done simultaneously with the pre-buried processing of water pipes. Consequently, it’s essential to choose and purchase the faucet style in advance before commencing the plumbing work

2.The dimension of the concealed box is 230 x 100mm, it is required to make the hole 240×110 mm, depth (40-55mm), the most suitable depth is 45mm. The cutline at 50mm is the best, don’t cut the box lower than the 50mm cutline.
3. Drill holes according to the size of the embedded box and nail the anchor bolts into the wall.
During operation, do not remove the protective cover of the embedded box body.
4. After placing the product inside the wall, you can use the gradienter that comes with the product to correct the position.
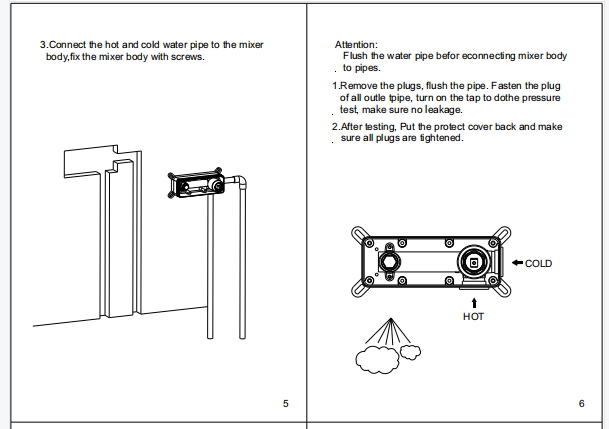
5. Connect the hot and cold water pipes, Hot and cold water pipes should be connected to the embedded box in the correct position.
6. Pre-installation box only, other accessories to be installed after the posting of tiles.
Maintenance Tips:
To keep your in-wall faucet functioning flawlessly, follow these maintenance tips: a. Regular cleaning: Wipe the faucet with a non-abrasive cloth to remove any dirt or grime. b. Check for leaks: Inspect the connections and seals periodically to ensure there are no leaks. c. Avoid harsh chemicals: Use mild cleaners to maintain the faucet’s finish and prevent damage. d. Replace worn-out parts: Over time, certain components may require replacement. Consult a professional if needed.
 Mea hoʻolako iVIGA Tap Factory

